"The Most Fabulous Banana Cake", IS the name of this cake. With such a name, how could anyone not make this cake? In most cookbooks that I've read, almost all of the authors claimed that their banana cake/bread/loaf is the best. I'm rather curious with this cake, is this really the most fabulous banana cake? Well, the only way to find out is to bake one!
I pretty much followed the recipe, except for the amount of sugar. I can never bring myself to use 370gm of sugar in a standard-sized cake! That amount is way too much for me. Furthermore, very ripe bananas are already sweet. So I have only used 160gm and I still feel that it could be reduced a little more, as the cake is still a little sweet for my taste.
You would need to use only the food processor to mix the batter! Very easy! The bananas are pureed in the food procesor, then the eggs and sugar are whizzed in for a minute. Add the butter, whiz for a minute until mixture is thick and creamy. Add the buttermilk and vanilla extract, pulse just to mix them in. The flour is added in, mixing it in with quick bursts, making sure do not overmix or the cake will be tough. Pour into the prepared and bake as directed.
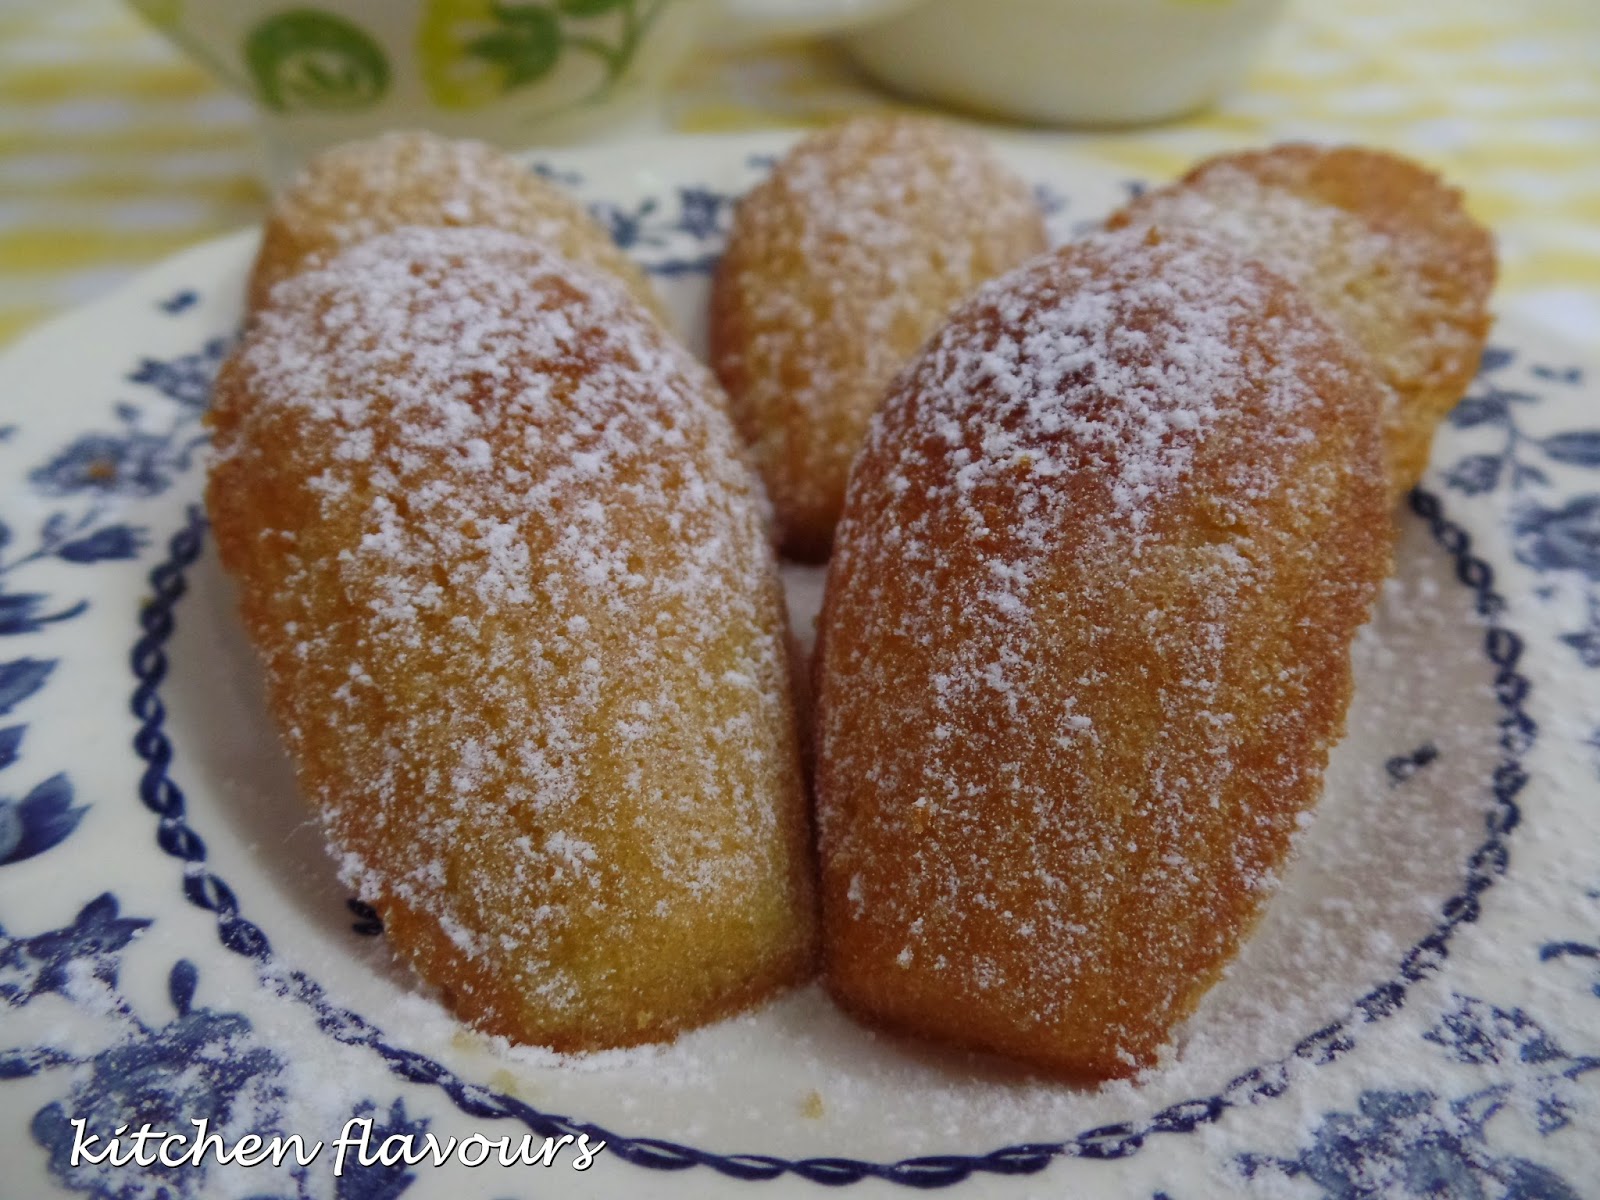
The cake bakes up really nice, love the deep golden colour of the loaf. Originally, this cake is baked in a ring pan, but I have baked it in a loaf pan instead. There's the cream cheese icing that goes with the cake, but I have omitted that, as I prefer eating banana cakes as it is, without any icing or frosting. If the cake is good, then eating it plain is the best way to enjoy it.
Is it "The Most Fabulous Banana Cake" as the name says? This cake is really nice, with strong banana flavour. It is moist, soft with tender crumbs. I would not mind baking it again. But for me, it is not the most fabulous banana cake. It is very good though, only not the most fabulous, but then it is only my personal opinion, based on my own personal taste. It could be your "The Most Fabulous Banana Cake"! The only way to find out is to bake one!
The Most Fabulous Banana Cake
(adapted from "Mix & Bake", Belinda Jeffery)
1-1/2 cups (225gm) plain flour
3 teaspoons baking powder
3/4 teaspoon salt
1/2 teaspoon bicarbonate of soda
2-3 large very ripe bananas (to yield 1 cup mashed banana)
1-2/3 cups (370gm) caster sugar
(I use 160gm)
2 eggs
125gm unsalted butter, at room temperature, cut into small chunks
100ml buttermilk
1-1/2 tsp vanilla extract
roasted pecans (optional), to serve
Icing :
250gm cream cheese, at room temperature, cut into chunks
125gm unsalted butter, at room temperature, cut into chunks
500gm icing sugar mixture, sifted
1-1/2 teaspoons vanilla extract
- Preheat the oven to 180C. Butter and flour a deep 26cm ring tin.
- Put the flour, baking powder, salt and bicarbonate of soda into a food processor and whiz them together for 15 seconds, then top them into a bowl.
- Mash the bananas and measure out 1 cup banana pulp. Scrape this into the processor and puree it until it's smooth. Add the sugar and eggs and whiz together for 1 minute. Add the butter and whiz it for another minute or until the mixture is thick and creamy. Now add the buttermilk and vanilla extract and pulse the processor in quick on/off bursts to just mix them in. Add the reserved flour mixture and again mix it in with quick bursts, scraping down the sides once or twice with a rubber spatula, until it's only just combined (don't overdo it or the cake will be tough). Scoop the batter into the prepared tin and smooth it out evenly.
- Bake for 30-35 minutes or until a fine skewer inserted in the middle of the cake comes out clean; it won't have risen much as it's quite dense. Don't open the oven any earlier than this or the cake can sink in the middle. Cool the cake in the tin on a wire rack for 7 minutes. Gently loosen the cake around the edges with a butter knife or fine palette knife, then invert it onto the rack and leave it to cool completely.
- While the cake is cooling, make the icing. Whiz the cream cheese and butter in the food processor until they're well mixed. Add the icing sugar mixture and vanilla extract and process until the icing is smooth. Scrape it into a bowl and chill it for about 15 minutes to firm it up if it seems a bit too soft (this usually only happen in really hot weather).
- When the cake is cool, sit it on a serving plate or cake stand and carefully cut through the circumference widthways with a long serrated knife to split it into two even layers. Spread some icing on the bottom layer, then sandwich the two halves back together again. Spread a thick layer of icing all over the top and sides of the cake and smooth it as best you can with a long palette knife.
- Serve the cake straight away or refrigerate it. It keeps well for up to 1 week - just bring it back to cool room temperature before eating it. Either leave the top plain or decorate it with roasted pecans.
and